As businesses evolve into digital workplaces, Wi-Fi is becoming more important for productivity than ever before. You may think that it’s going to be long arduous task, but it’s really not that difficult and anyone can work out how to set up Wi-Fi correctly. Thanks to innovations in technology, companies are now able to make the Wi-Fi network setup process easy, even for the most non-technical users.
But, while it’s easy to get everything up and running, knowing how to set up the internet properly will vastly increase your router’s potential and its security measures. You need to follow a comprehensive Wi-Fi setup guide, and that’s where we can help.
To find out how to set up Wi-Fi correctly for your workplace, read on now. Or, head over to our Workplace page to find more of our blogs there.
Things to do before you begin
So, you want to get your Wi-Fi network set up but you’re not sure where to begin? Before you start anything, you need to select the right wireless router for your needs. Every workplace will demand different requirements when it comes to a router, so do your research first to determine what’s best for you.
However, one thing you have to ensure is that any router you go for supports more than just WEP security. WEP is no longer secure and could leave your business open to cyber attacks. To be on the safe side, find a router that utilises WPA2 security.
Next, you need to try and work out where your wireless router will best be placed. The wireless signal can be prone to interference from things such as windows, walls, and hardware that emits microwave radiation. So, have a think about it and draw up a few plans just in case you run into any issues.
The Wi-Fi setup process
1. Switch your modem off
First things first, power down your DSL modem so that it no longer provides a connection from your internet service provider.
2. Connect your modem and router together
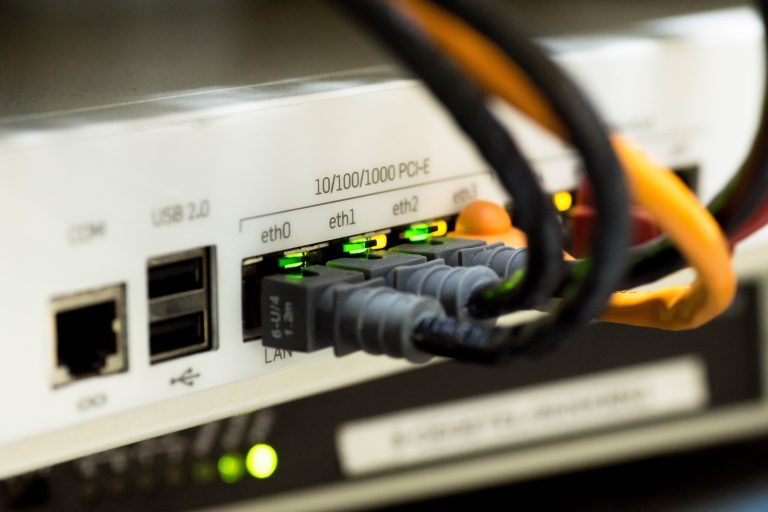
At this stage, you’ll need an Ethernet cable in order to connector modem and router together. Normally this cable will be provided with your router but you may need to buy one if not. Simply plug one end of the cable into the router’s WAN port and the other into the modem.
3. Connect your computer to the router
Once your modem and router are connected together, you’ll need to plug another Ethernet cable into any one of your router’s LAN ports and then into your computer’s Ethernet port. However, this is only temporary as it’s just needed for the Wi-Fi setup process.
4. Power up your modem, router, and computer
When you’ve connected everything together correctly, power up your modem, router, and computer. Just make sure to do it in this order.
5. Visit your router’s web management page
Now that you’re up and running you need to visit the management webpage for your router. This is the web page that gives you administrative control over your router. Simply open a web browser and type in your routers IP address into the address bar. This is normally something you’ll find in the manual and should look something like 192.168.0.1.
6. Create a unique administrator password
Once you’re inside your router’s administrator management webpage, set up a new, secure password. At this point you can also change the username if you’d like to.
7. Set up your WPA2 security
When it comes to security for your Wi-Fi network, you can’t overlook this stage. In your router’s web management page, find the wireless security section. Once there, select WPA2 as your chosen form of encryption and create a unique password of at least eight characters. WPA2 uses the latest wireless encryption protocol and the more characters you add to your password, the stronger it will be.
8. Upgrade your firmware
Upgrading your firmware couldn’t be more important for security and is something that’s often forgotten about when people set up a Wi-Fi network. The manufacturer of your router should release frequent firmware updates in order to protect against security threats and fix any bugs in their code. Make sure you check on your manufacturer’s website at least once a month for any updates.
9. Create a name for your wireless network
After you’ve got all your security steps out of the way, it’s time to name your wireless network. You should be able to find the SSID (service set identifier) in the management webpage under the wireless network information section. Choose a descriptive name based around your business, router location, it’s number, or a combination of all of them.
10. Test your new wireless network
Now, you should have everything set up and your wireless network should be active. Search for your Wi-Fi network on a PC, laptop, tablet, or phone to test it out and make sure that everything is running correctly.
Are you still wondering how to set up internet or how to set up Wi-Fi? Contact us now to speak to an expert at Saxons or visit the Workplace page to read more of our workplace related articles.


